Ladybug Jack-o-Lantern
Back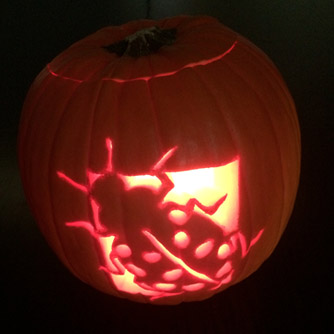
Ladybug jack-o-lantern is bound to impress!
Carving a pumpkin to make a Jack-o-lantern is simply awesome. And using our ladybug design you’ll have the best looking pumpkin on the street!
Materials
- Carving pumpkin (usually sold in supermarkets in the weeks before Halloween)
- Ladybug template (download from the Additional Info area on the top right hand side)
- Tealight candle
Tools
- Scissors and sticky tape
- Small skewer
- Narrow hack saw or coping saw blade
- Dessert spoon
- Paper towel
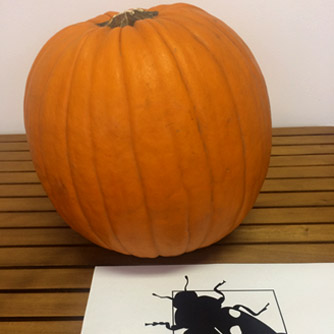
Carving pumpkin and ladybug pattern ready to go

Blade ready for cutting
Step 1
Break off one end of the saw blade to remove metal “hooks” and wrap the opposite end in some paper towel to make it easier to hold. to Use the blade to cut a circle out of the top of the pumpkin. Make sure the hole will be large enough to fit your hand through and cut on an angle so that the top won’t fall through once finished.

Cut out a top piece

Remove seeds and fibre
Step 2
Pull off the top and scoop out the seeds and fibre. Use the spoon to scrape against the inside walls to remove the remaining fibre.

Transferring the pattern onto the pumpkin

The design is now marked on the pumpkin
Step 3
Print off the ladybug template and trim off any excess paper. Select the best section of the pumpkin and tape it to the side. Use the skewer to punch small holes through the paper and into the pumpkin. Only push the skewer a few millimetres deep in order to transfer the pattern directly onto the pumpkin surface. Remove the paper template but keep it near you as a reference guide.

Start cutting!
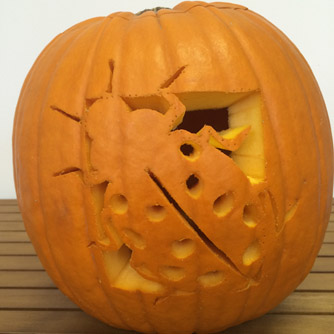
Design fully cut out
Step 4
Next use the blade to cut through the pumpkin and follow the pattern. First cut the spots out and then work your way systemically around the design. Take extra care with the legs as they are very thin and fragile.
There is a bit of a skill to cutting the pumpkin which you’ll pick up as you go. Don’t worry too much if yours look a little rough. You’ll be surprised how good it looks once lit by a candle.
Step 5
Wipe down the pumpkin to remove any small pieces of pumpkin leftover from cutting and tidy up any rough bits.
Step 6
Insert the candle, light it and put the top back on. Then sit back and wait for the compliments to come flooding in!
Note: Halloween is much warmer for us than in the northern hemisphere so your ladybug jack-o-lantern won’t last that long before going mouldy. To extend it’s life store in the fridge or the coolest spot you can find.