Ladybug candle holder
Back
Ladybug lanterns
These ladybug candle holders are super quick to make and add a lot of charm to the garden. It’s a project that is best for adults and older kids as the drilling part is too tricky for young children.

Step 2: Attaching the template
Materials
- Empty tin can
- Ladybug template (download from the Additional Info area on the top right hand side)
- 1x coloured spray paint (a bright colour work best)
- 1x black spray paint
- Candle
Tools
- Scissors and sticky tape
- Drill
- 2x drill bits (1.59mm and 4.76mm)
Step 1
Remove the label from an empty tin can and wash it out.
Step 2
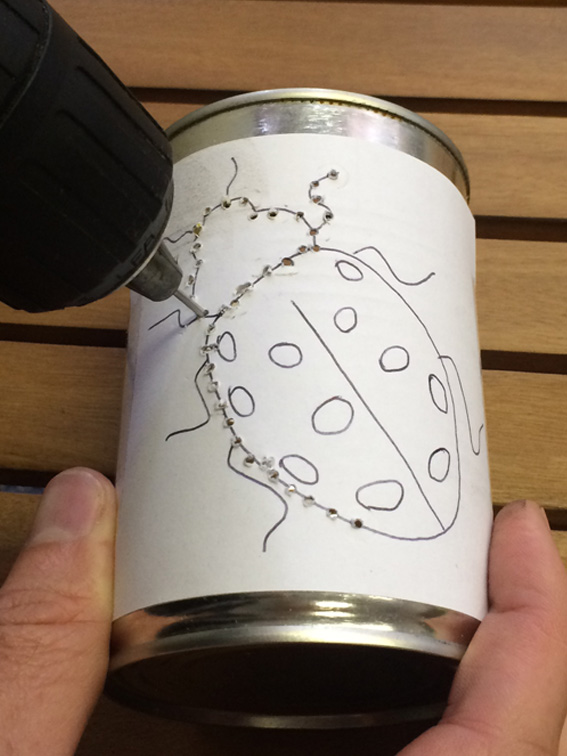
Step 3: Drilling the can
Print off the ladybug template, cut it to size and tape to the side of the can.
Step 3
Use the small drill bit to drill holes in the can and make the outline of the ladybug. Use the larger drill bit for the spots on it’s back.
Step 4
Remove the paper template and check the can for any sharp burrs around the hole edges. Push these inwards.
Step 5
Spray the inside of the can with the coloured paint and wait for it to dry.
Step 6
Turn the can upside down and then spray the outside with the black paint.
Step 7
When dry place a candle inside the can and you’re ready to go!

Step 5: Painting the inside
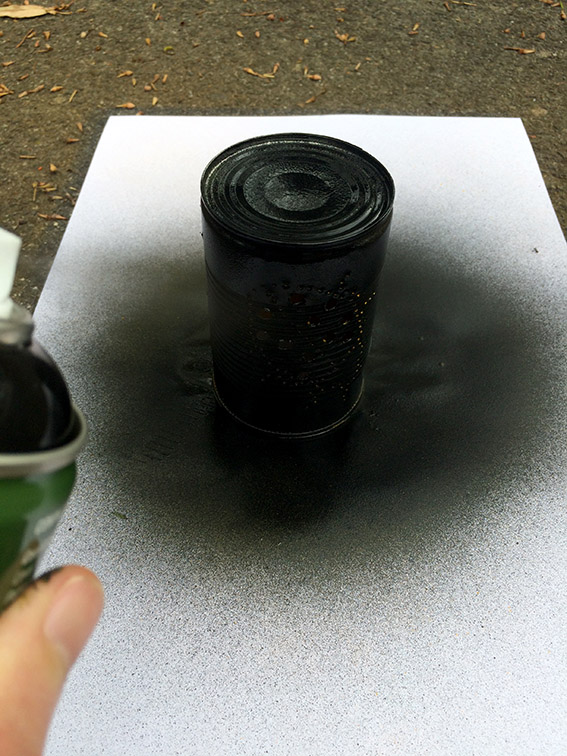
Step 6: Painting the outside
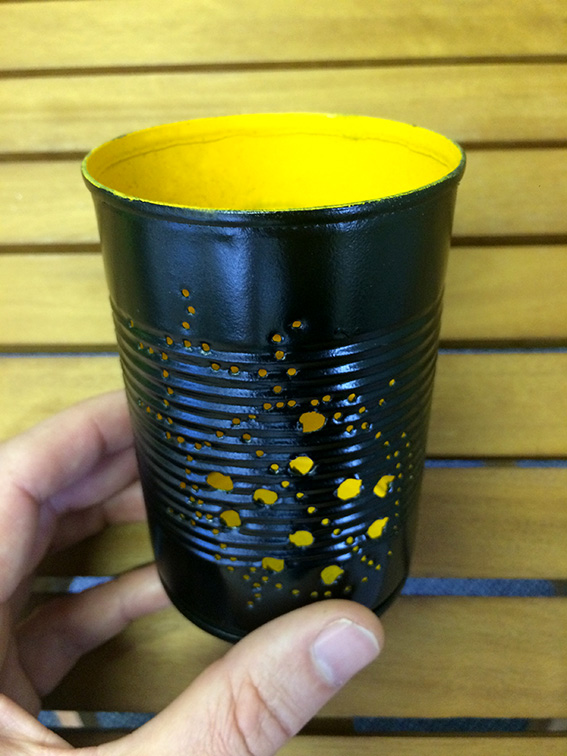
Step 7: Ready for the candle